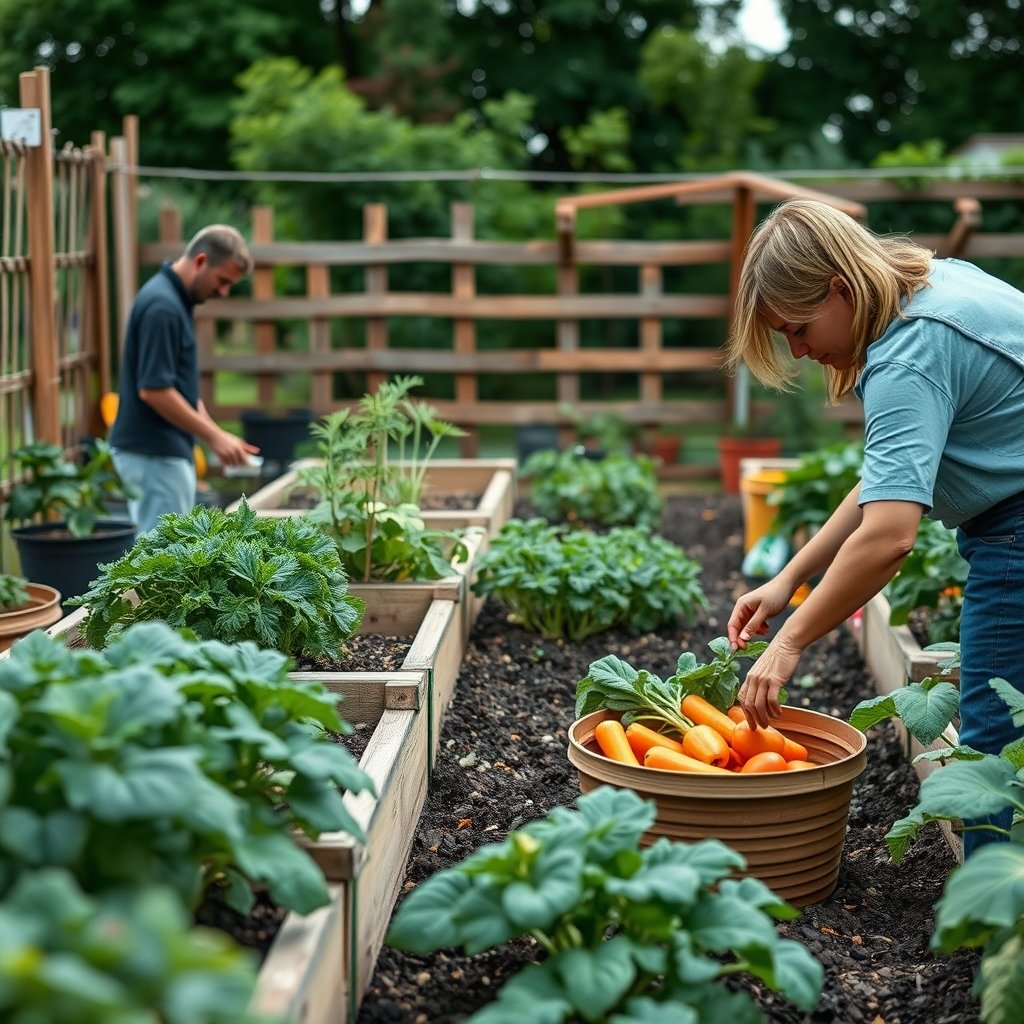
How to Start a Vegetable Garden at Home – Complete Guide
Knowing how to start a vegetable garden at home is one of the most rewarding skills you can pick up — full stop. You get fresher produce than anything a supermarket can offer, you spend more time outdoors, and you build a genuinely useful habit. Whether you’ve got a sprawling backyard, a compact patio, or nothing more than a sunny windowsill, growing your own food is well within reach. This guide walks you through every stage, from choosing the right spot to pulling your first harvest, in plain language that actually makes sense.
What You’ll Need
- A suitable growing space — a garden bed, raised bed, or a collection of containers (at least 12 inches deep for most vegetables)
- Quality potting mix or garden soil — standard topsoil alone is rarely enough; look for a mix rich in organic matter
- Seeds or seedlings — beginners usually have more success starting with seedlings for tomatoes and peppers, seeds for beans, carrots, and lettuce
- Basic tools — a trowel, a watering can or hose with a gentle spray head, and a pair of gardening gloves
- Compost or slow-release fertiliser — to feed your plants throughout the season
- Labels and a garden journal — surprisingly useful once you’re growing more than two or three varieties
- Patience — genuinely the most important ingredient
Step 1: Choose the Right Location
Sun is non-negotiable. Most vegetables — tomatoes, zucchini, peppers, beans — need at least six to eight hours of direct sunlight per day. Before you dig a single hole, spend a day watching how sunlight moves across your yard or balcony. Mark the sunniest patch; that’s your prime real estate.
Avoid spots directly under large trees. They compete for both light and nutrients, and their roots will eventually interfere with your beds. If your only available space is partially shaded, lean into crops that tolerate lower light: lettuce, spinach, kale, and herbs like parsley and chives all manage well with three to four hours of sun.
Also consider proximity to a water source. Dragging a hose 30 metres across the yard gets old fast, especially in summer when you’re watering daily. The closer your garden is to a tap, the more likely you are to actually keep up with it.
Step 2: Decide on Your Garden Style
There’s no single ‘correct’ format for a home vegetable garden. Your choice depends on your space, budget, and how much effort you want to put into initial setup.
- In-ground beds are cost-effective and work well if you have decent existing soil. You’ll need to test and amend it before planting (more on that in Step 3).
- Raised beds are the most popular option for beginners. You fill them with a controlled soil mix, they drain well, and they warm up faster in spring. A 4×8-foot raised bed is a great starting size — small enough to manage, large enough to grow a meaningful variety.
- Containers and grow bags are perfect for balconies, patios, or renters. A 15-gallon fabric grow bag can produce a surprisingly productive tomato plant. Use several containers to grow a mix of crops side by side.
We’d suggest raised beds for most first-timers. The upfront cost is worth it — you’re not fighting compacted soil or drainage problems from day one.
Step 3: Test and Prepare Your Soil
Soil is where your garden lives or dies. Vegetables prefer a slightly acidic to neutral pH — roughly 6.0 to 7.0. You can pick up an inexpensive soil test kit at any garden centre or order one online. The results tell you whether you need to add lime (to raise pH) or sulphur (to lower it).
Regardless of your pH, almost every garden benefits from added organic matter. Work in a 3-to-4-inch layer of compost before planting. If you’re building a raised bed, a standard mix of 60% topsoil, 30% compost, and 10% perlite or coarse sand gives you excellent drainage and fertility from the start.
If your in-ground soil is dense clay, don’t fight it — raise it. Laying a raised bed directly on top of clay ground is perfectly fine. Roots will eventually penetrate downward once the clay loosens over time.
For a solid scientific overview of soil health and vegetable growing, the University of Minnesota Extension’s soil and fertiliser guide is one of the most reliable free resources available.
Step 4: Pick the Right Vegetables to Grow First
One of the most common mistakes beginners make when figuring out how to start a vegetable garden at home is choosing crops that are too ambitious for a first season. Stick to reliable, fast-growing producers that give you visible results quickly — that early feedback keeps you motivated.
Some excellent beginner crops:
- Lettuce and salad greens — ready to harvest in as little as 30 days, and you can cut-and-come-again for weeks
- Radishes — mature in 3 to 4 weeks, perfect for filling gaps between slower crops
- Green beans — bush varieties are low-maintenance and prolific
- Zucchini (courgette) — almost aggressively productive; one or two plants is genuinely enough
- Cherry tomatoes — more forgiving than large beefsteak types; varieties like ‘Sungold’ or ‘Sweet Million’ are reliable even in variable weather
- Herbs (basil, chives, parsley) — use them constantly in cooking, and they’re very low-fuss
Avoid starting with crops that need a lot of space and time — watermelons, corn, and large pumpkins are best left until you’ve got a season or two under your belt.
The Royal Horticultural Society’s vegetable growing guides offer detailed growing calendars for each crop, which is genuinely useful when you’re planning what to plant and when.
Step 5: Plan Your Layout Before You Plant
Grab a piece of graph paper (or use a free tool like GrowVeg’s garden planner) and sketch out where each crop will go. This takes 20 minutes and saves hours of frustration later.
A few principles worth following:
- Tall plants at the north end (in the Northern Hemisphere) so they don’t shade shorter neighbours.
- Group fast-growing crops together so you can replant those sections once they’re done.
- Leave enough space. Zucchini, in particular, will take over if you crowd it. Check the seed packet or plant label for spacing recommendations and actually follow them.
- Think about companion planting. Basil planted near tomatoes is thought to improve flavour and deter some pests. Marigolds around the border of your bed discourage aphids and whitefly.
Step 6: Plant at the Right Time
Timing is everything in vegetable gardening. Plant too early, and a late frost wipes out tender seedlings. Plant too late, and crops don’t ripen before autumn cold sets in.
Your local last frost date is the most important number to know. In the UK, that’s typically late March to mid-April depending on region. In the US, it varies from February in Florida to late May in parts of the Midwest. Search ‘[your city] last frost date’ and you’ll find reliable historical data.
As a general rule:
- Cold-tolerant crops (lettuce, spinach, peas, radishes) can go in 4 to 6 weeks before your last frost date.
- Warm-season crops (tomatoes, peppers, beans, zucchini) go in after the last frost date has passed and the soil has warmed to at least 15°C (60°F).
If you want to get a head start, sow seeds indoors under a grow light 6 to 8 weeks before your planned outdoor planting date, then harden off seedlings gradually — setting them outside for a few hours per day over a week — before transplanting.
Step 7: Water Consistently and Wisely
Most vegetables need about 2.5 cm (1 inch) of water per week. Inconsistent watering — long dry spells followed by heavy soaking — causes real problems: blossom end rot in tomatoes, split carrot roots, and bitter lettuce.
Water at soil level, not from above. Wet foliage is an open invitation to fungal disease. A simple drip irrigation system or soaker hose on a timer is one of the best investments you can make once you’re committed to growing regularly — it removes the single biggest reason gardens get neglected during busy weeks.
Check soil moisture by pressing a finger two inches into the soil. If it’s dry at that depth, it’s time to water. If it’s still damp, hold off. Clay soils retain moisture longer; sandy soils dry out faster.
Step 8: Feed Your Plants Through the Season
Even great soil gets depleted. Once your plants are established and actively growing, a regular feeding routine keeps them productive.
- Leafy greens respond well to a nitrogen-rich feed (liquid seaweed or fish emulsion works well) every two to three weeks.
- Fruiting crops like tomatoes and peppers need a potassium-high feed once they start flowering — this supports fruit set and quality. A tomato-specific liquid fertiliser is an easy, reliable choice.
- Root vegetables like carrots and beets prefer low-nitrogen feeds; too much nitrogen produces lush tops and small roots.
Side-dressing your beds with a layer of compost mid-season is also a low-effort way to give plants a nutrient top-up without risk of over-fertilising.
Step 9: Manage Pests Without Panic
Every garden has pests. That’s not a failure — it’s just gardening. The goal isn’t to eliminate every insect, but to keep populations at a level where your plants stay productive.
Check plants regularly, ideally a few times per week. Catching problems early — a few aphids on the underside of a leaf, a cluster of slug eggs near the soil surface — is far easier than dealing with a full infestation.
Practical, low-chemical options that actually work:
- Aphids: a strong jet of water knocks most off; introduce ladybirds (ladybugs) if populations are persistent
- Slugs and snails: copper tape around container rims, crushed eggshells around plants, or iron phosphate pellets (pet and wildlife safe)
- Caterpillars on brassicas: fine insect mesh (fleece netting) is the most effective preventive measure — it stops the butterfly from laying eggs in the first place
- Fungal issues: improve airflow by spacing plants correctly and removing affected leaves promptly
Common Mistakes to Avoid
- Starting too big. A 4×4-foot bed managed well beats a 20×20-foot plot that becomes overwhelming. Scale up once you know what you’re doing.
- Skipping soil prep. Bad soil is the number-one reason beginner gardens underperform. Don’t skip Step 3.
- Overwatering. More plants die from overwatering than underwatering. Always check soil moisture before reaching for the hose.
- Planting too close together. Crowded plants compete for resources and airflow, leading to poor yields and disease. Respect the spacing on the label.
- Giving up after one bad season. Even experienced gardeners lose crops to unexpected weather, pests, or disease. One rough season is data, not defeat.
- Not keeping notes. Write down what you planted, when, and how it performed. That information is invaluable for planning next year’s garden.
Final Thoughts
Learning how to start a vegetable garden at home is genuinely one of those skills that compounds over time. Your first season will have stumbles — a crop that bolts in unexpected heat, a pest you didn’t see coming, a variety that just didn’t suit your soil. That’s normal and expected. What matters is that you grow something, learn from it, and come back the next season a little wiser.
Start small, get your soil right, pick beginner-friendly crops, and water consistently. Those four things, done reasonably well, will get you a harvest. Everything else is refinement. The process of growing your own food — even just a few meals’ worth — changes how you think about what’s on your plate. Give it one season and see.
Frequently Asked Questions
How much space do I need to start a vegetable garden at home?
You need less than you probably think. A 4×4-foot raised bed or four to six large containers is enough to grow a useful mix of herbs, salad greens, and one or two larger crops like tomatoes or beans. A small, well-managed space consistently outperforms a large neglected one.
What’s the easiest vegetable to grow for a complete beginner?
Lettuce and salad greens are hard to beat for beginners — they grow fast, tolerate partial shade, and you can harvest them multiple times from the same plant. Radishes and green beans are also excellent starting points because they mature quickly and give you clear, early wins.
Can I start a vegetable garden at home without a yard?
Absolutely. Containers, grow bags, and window boxes work well on balconies, patios, and even indoors near a south-facing window. Cherry tomatoes, lettuce, herbs, peppers, and radishes all grow successfully in containers. The key is choosing containers deep enough for the crop’s roots — at least 12 inches for most vegetables, deeper for carrots.
How long does it take to see results from a home vegetable garden?
That depends on what you plant. Radishes can be ready in as little as three weeks. Lettuce is harvestable in four to six weeks. Tomatoes and peppers typically take two to three months from transplant to first harvest. Starting with a mix of fast and slow crops means you’ll be eating from your garden within a month of planting.